¶ Generating Code from User Stories
Generating code from user stories can significantly benefit users by streamlining the software development process and ensuring high-quality code that aligns with their business needs. By following these steps, users can experience the advantages of automated code generation, saving time and effort while maintaining code quality.
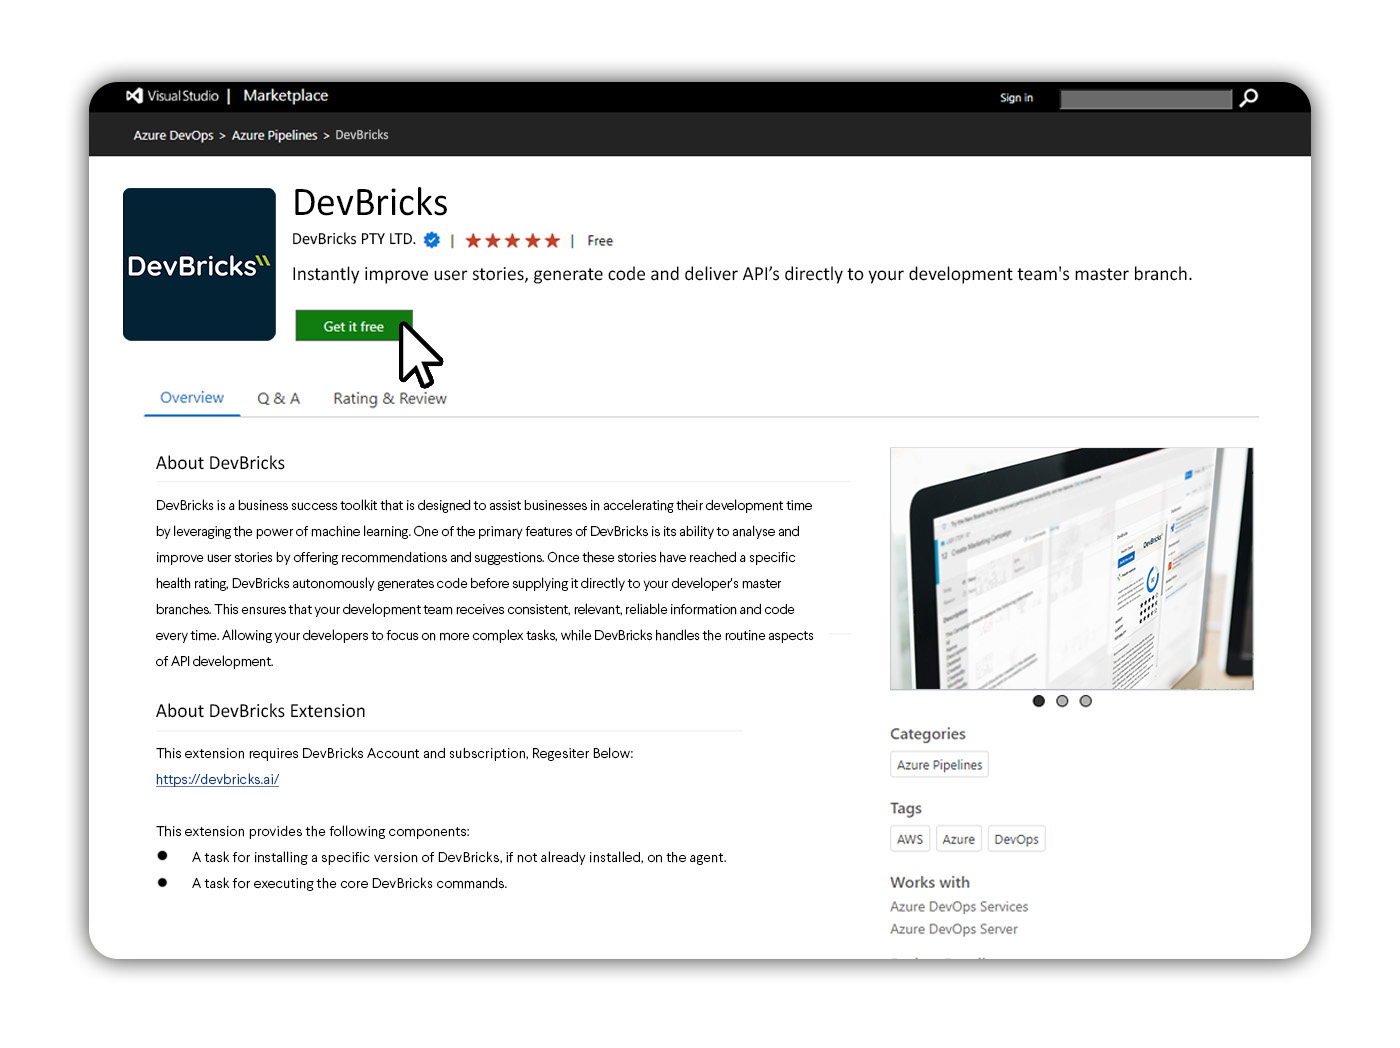
¶ Step 1: Ensure that DevBricks has been onboarded into your Azure DevOps project.
Find the onboarding process, here.
Step 2: Create a new user story in your project's Sprint menu.

Step 3: Enter your user story.
If you can not see the DevBricks plugin there may have been issues with onboarding, please refer to step 1.

Step 4: Select "Health check."
Keep in mind that each user story has a limit of 5 health checks, so it's advisable to do some preliminary drafting to avoid exhausting them too quickly.

Note: Health check progress can be seen from the ”DevBricks” Tab within your user story.
¶ Step 5: Improve your user story based on the recommendations provided.

Step 6: Run the Health Check again.
We recommend repeating this process until your user story achieves a health rating of 80+.
By reaching this rating DevBricks will have the best opportunity to develop high-quality code that aligns with your business needs.
¶ Step 7: Customise the Blueprint to Suit Your Requirements
Select the "DevBricks" tab located on the right side of your user story page.

Within this tab, you have the option to enable or disable relevant technologies. Disabled technologies will be presented as grey.

Please note that this page only allows you to enable or disable the Tech Bricks and foundation that was previously defined in the Project settings.
If you wish to learn how to add additional tech bricks and further customise your Blueprint, visit here.
¶ Step 8: Select Build Code
Return to the previous tab and select "Build the code" within your DevBricks plugin.

¶ Step 9: Select the Repository and Branch to deposit the code into before selecting the "Generate" button.
Just like your development team, DevBricks needs to branch off from your development branch to generate code. This will typically be a branch name development or simply named branches.

Step 10: Submit the user story for code generation.
Code generation progress can be seen from the ”DevBricks” Tab within your user story.
Note: After DevBricks has finalised its code generation it will create a new Branch in your Repo’s page under the same title as your chosen user story.
¶ Step 11: Review the Generated Code
Code generation progress can be seen from the ”DevBricks Tab" within your user story. This process will seamlessly continue in the background allowing you to continue with other tasks while it generates.
Note: After DevBricks has finalised its code generation it will create a new Branch in your code Repository page under page under the same title as your chosen user story. y a link to this can also be found in the DevBricks tab.
¶ The following steps are only required if generated code does not meet your requirements.
¶ Step 12: Re-generate Code as required.
After generating your code for the first time you will be given 4 additional attempts to amend your user story to better suit your requirements.
To do this simply revisit the sprints page, select your chosen user story and add your changes to the description and acceptance criteria panel. Additionally, you may need to adjust your blueprint to refine your requirements.

Note: Below the “generate code" button you will be able to see how many remaining generations and health checks you have for this user story. For more information hoover over the counter to reveal more details.
¶ Step 13: Repeat Health Check
Once you have completed changes we recommend commencing another Health check to ensure the changes align with the rest of your user stories Critia.

¶ Step 14: Rebuild the code
Once the health check is completed, you have added your adjustments and your user story is rated over 80% simply hit the “build the code” button again.

Step 15: Select the Repository and Branch to deposit new code before clicking the "Generate" button.
Just like your development team, DevBricks needs to branch off from your development branch to generate code. This will typically be a branch name development or simply named branches.
Note: Re-generated code will not overwrite your previously written code but will be generated as a new branch in your chosen areas.